
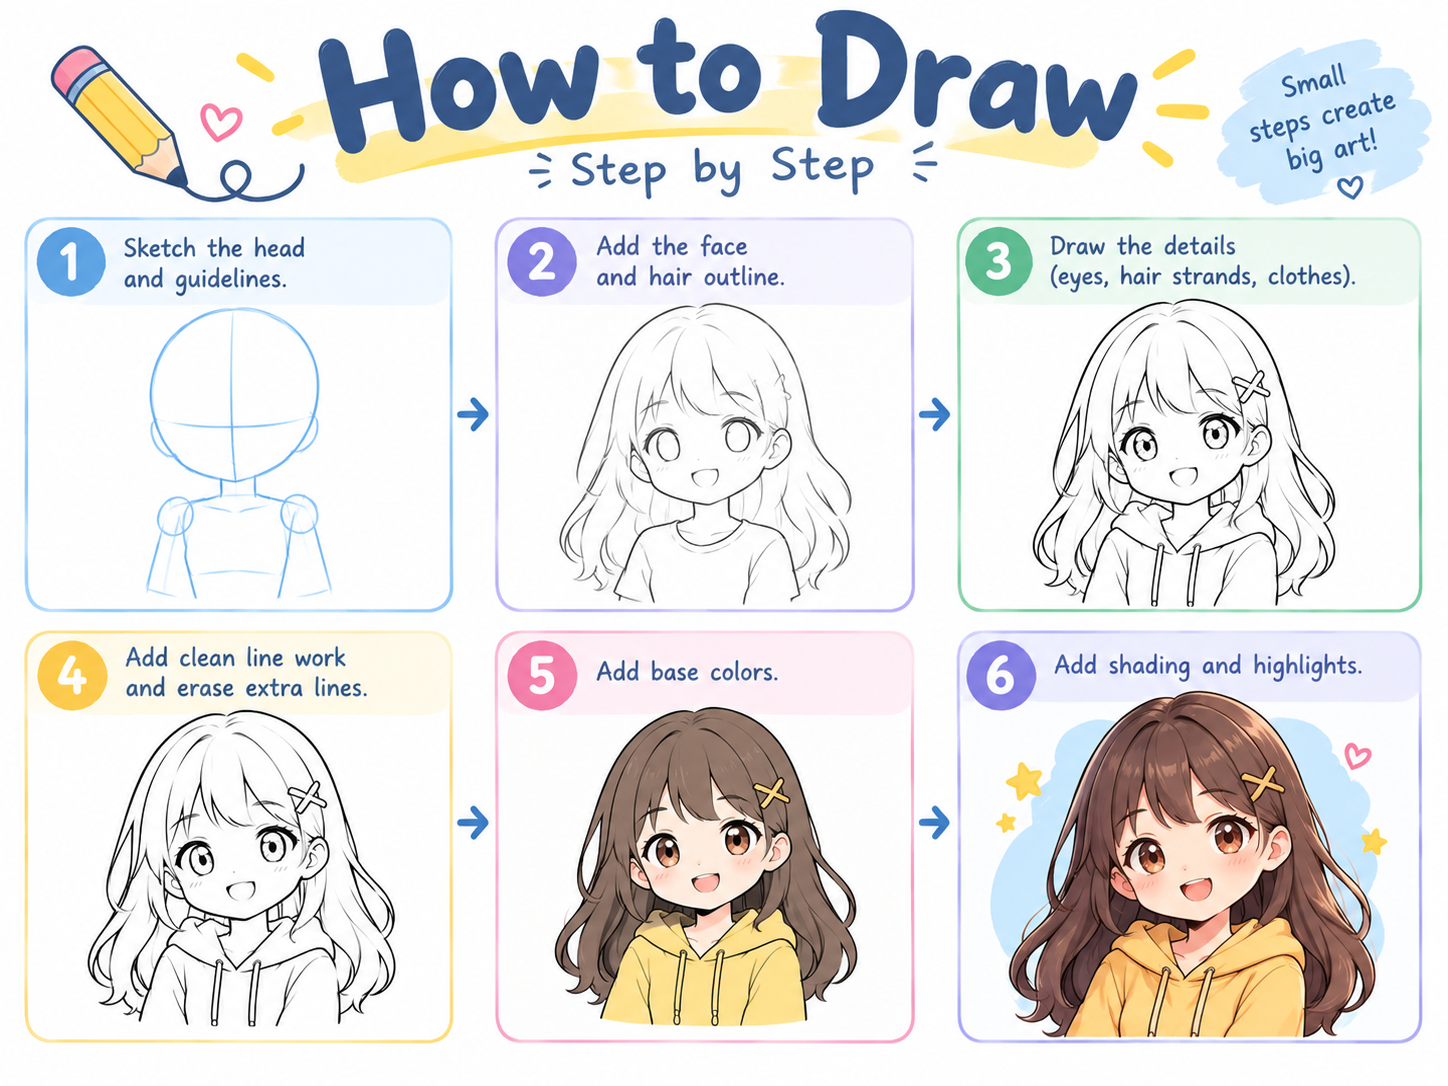
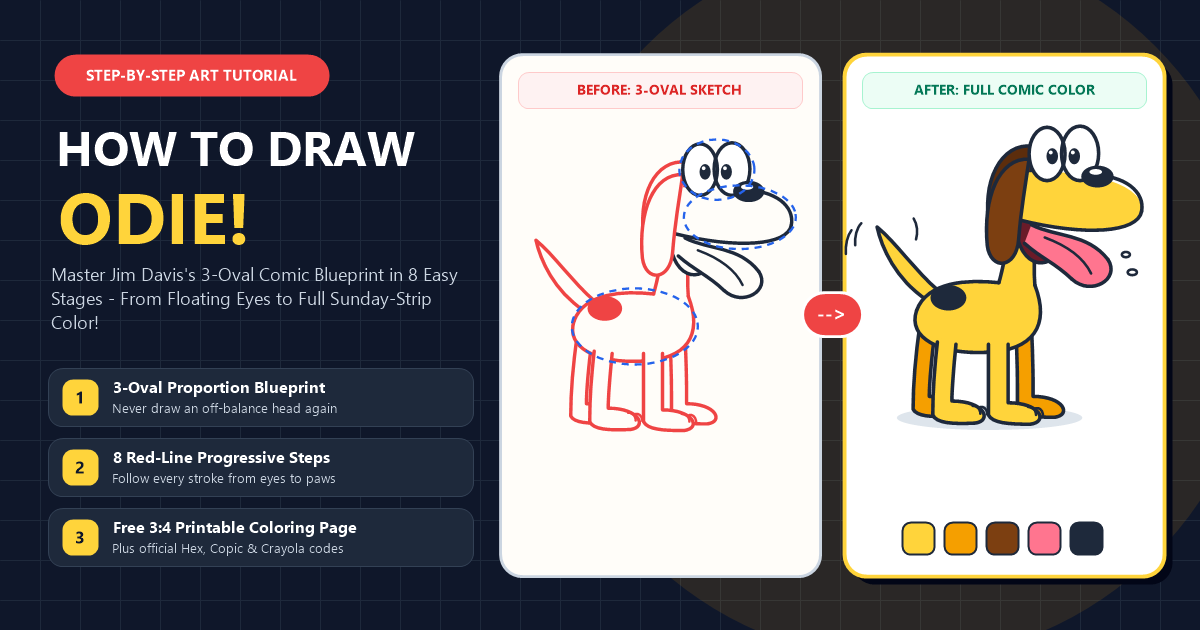
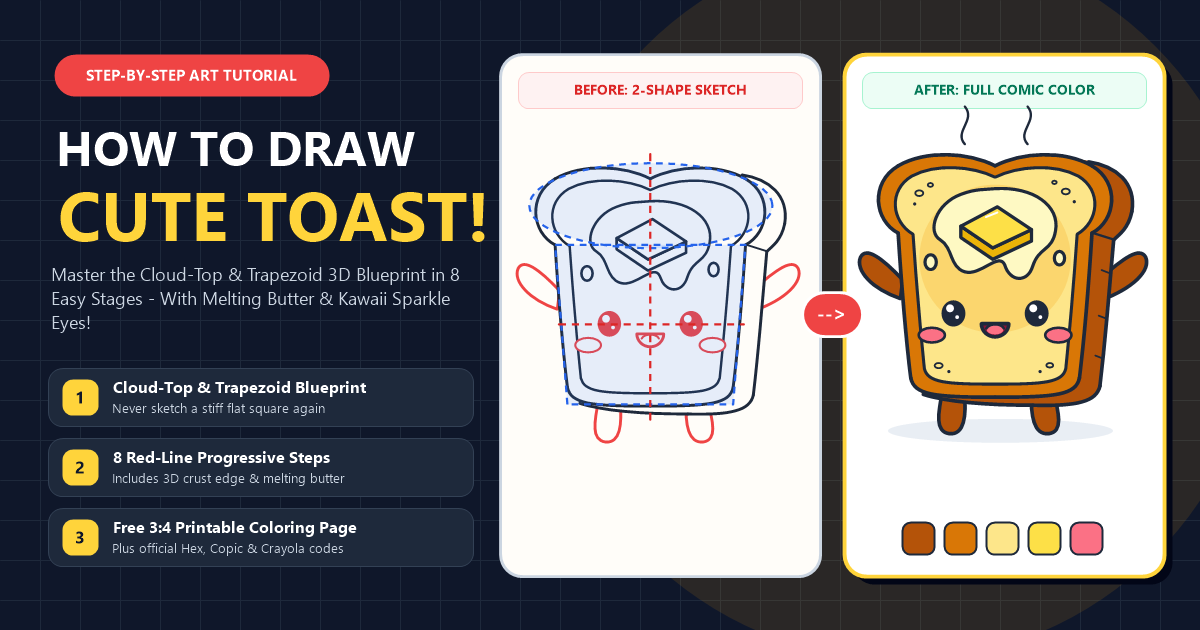
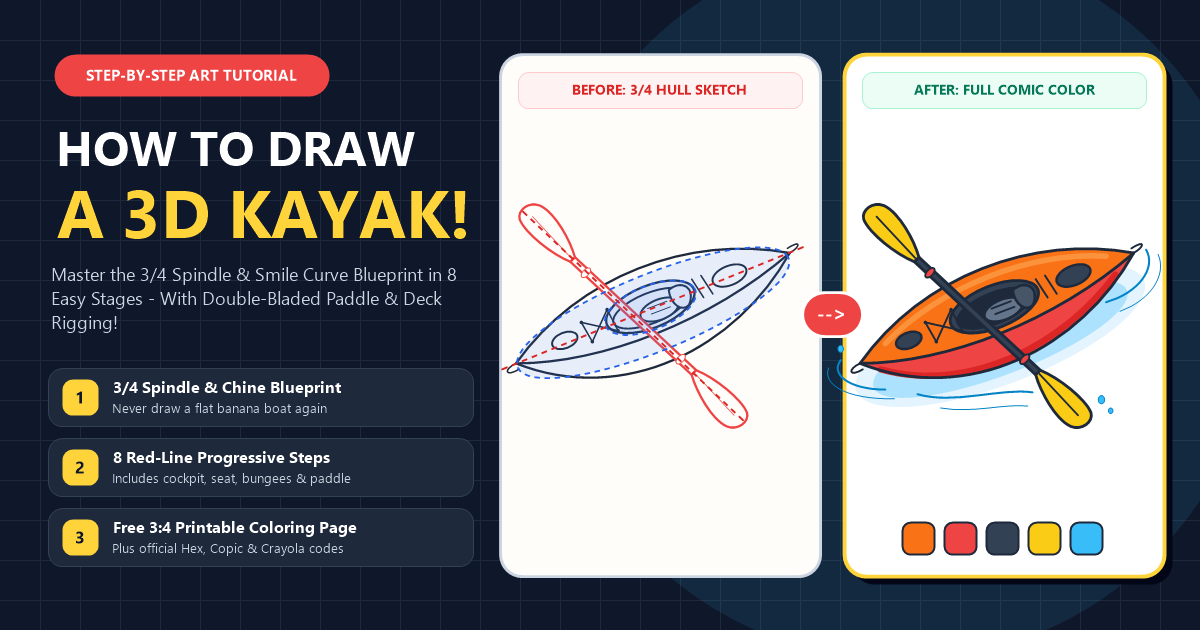

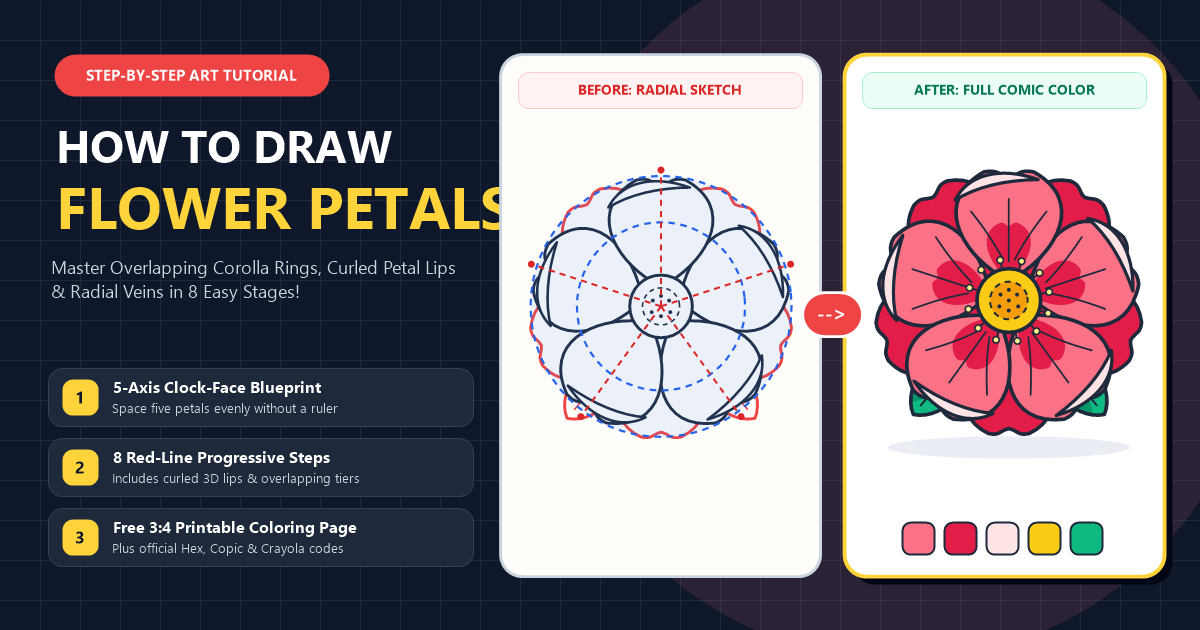
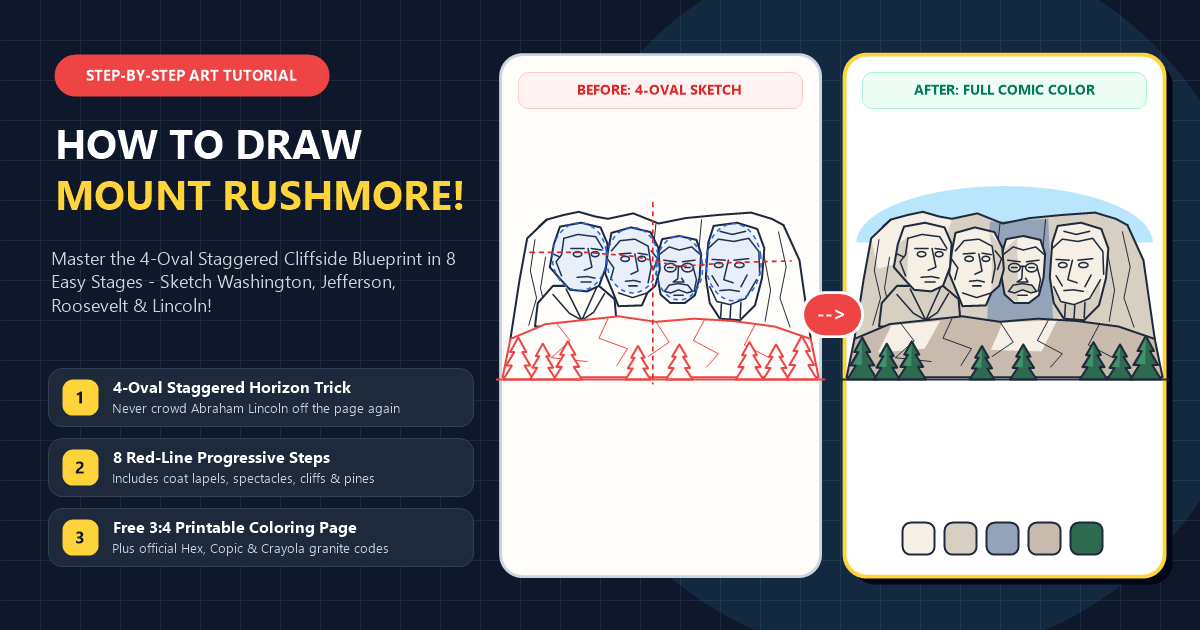
If you can sign your name on a delivery receipt or slice an apple in half, your hand already possesses 100% of the physical dexterity required to sketch cleanly. Your drawings only look stiff or lopsided because traditional step-by-step cards train you to trace flat outer silhouettes like a human photocopier, leaving your brain helpless the second a subject tilts in space. Working artists never start with the outer boundary. When you learn how to draw from the inside out stacking simple 3D spheres, cylinders, and boxes along a live gesture line any complex subject on earth breaks down into shapes you already know how to make.
Why Copying Step by Step Outlines Keeps Beginners Stuck on Flat Paper
Watch a beginner try to sketch a person's face or a sitting dog, and you will see them start at the left eyebrow and slowly creep around the outer perimeter like a laser cutter. By the time their pencil reaches the right ear, the jaw is half an inch too wide and the eyes sit on two different floors.
Cognitive researcher Dr. Betty Edwards proved in Drawing on the Right Side of the Brain that this distortion has nothing to do with shaky hands. Around age five, your left hemisphere builds a mental dictionary of flat visual icons an almond with a dot for an eye, a lollipop for a tree, five sausages for a hand so you canentify objects in a split second.
The moment you name the thing you are drawing, your verbal brain hijacks the pencil and stamps out that flat childhood symbol instead of looking at the real object in front of you. To draw accurately, you have to trick your brain into measuring raw geometry before it can attach a verbal label.
- Read Slopes Against an Imaginary Clock Face: Extend your arm fully, close one eye, and align your pencil with any tilted edge on your subject if a dog's ear tilts at a 2 o'clock angle in the air, transfer that exact 2 o'clock slope onto your page.
- Carve Out Negative Space Triangles First: Instead of guessing how a bent arm or a teacup handle curves, draw the empty triangle of air trapped between the handle and the cup wall; when the empty space is right, the solid object draws itself.
- Drop Vertical and Horizontal Plumb Lines: Hold your pencil straight up and down like a carpenter's plumb line to check which landmarks stack directly above one another, such as how the inner corner of a human eye lines up with the outer wing of the nose.
"Your hand rarely makes a drawing mistake on its own; ninety percent of lopsided sketches happen because your brain drew what it assumed was there instead of measuring the angle in front of your eyes."
How to Unlock Smooth Confident Strokes From Your Shoulder Socket
Look closely at a hesitant sketch and you will immediately notice "chicken-scratching" dozens of tiny, furry, quarter-inch ticks stitched together to fake a single long line. Beginners fall into that trap because they hold a drawing pencil the exact same way they hold a ballpoint pen to write a grocery list.
When you pinch a pencil half an inch from the tip and plant your wrist bone firmly on the desk, your hand turns into a tiny compass with a maximum radius of 1.5 inches. Try to pull a six-inch curve for a vase or a cat's spine from a locked wrist, and your joint hits a physical wall every half inch.
In Irshad Karim's Drawabox curriculum and classical studio warmups, the cure is moving the mechanical hinge up your arm. Shifting your pivot from your fingers to your elbow and shoulder wipes out scratchy hesitation in a single ten-minute session.
- Slide Your Fingers Back Two Inches From the Tip: Gripping the wooden shaft higher up immediately cuts downward hand pressure by 60%, allowing the graphite tip to skate across the surface instead of digging silver trenches.
- Match the Arm Joint to the Scale of the Line: Save tiny finger movements for quarter-inch pupils and nostrils, unlock your elbow for medium three-inch curves, and drive your whole forearm from the shoulder socket for long structural lines.
- Ghost Every Stroke Twice Two Millimeters in the Air: Hover your pencil tip just above the sheet and rehearse the motion from your start dot to your end dot twice before letting the lead touch down on the third swing.
The Three Pass Mannequin Method for Building Any Subject in Space
Social media time-lapse videos fool beginners into believing master illustrators drop a dark pen onto blank paper and draw a finished dragon from head to tail in one pass. What the camera misses or what digital artists hide on a turned-off layer is the light three-dimensional scaffolding underneath.
From Andrew Loomis's classic figure manuals to the story rooms at Pixar and Walt Disney Animation Studios, professional artists rely on a three-pass construction workflow. You never try to solve proportion, 3D perspective, and final line weight at the same time.
Pass One Captures Gesture and Big Proportions With Spheres and Boxes
Spend your first sixty seconds pressing so lightly that your marks are barely visible from three feet away. Start with a single sweeping C-curve or S-curve the line of action that captures the overall tilt, slouch, or leap of your subject.
Next, hang the three universal geometric primitives spheres, cylinders, and boxes right onto that spine without worrying about surface bumps. A standing horse is just a sphere for the skull, a tilted barrel for the ribcage, and a wedge for the hips; a vintage camera is nothing more than a short cylinder plugged into the front of a rectangular brick.
Pass Two Wraps Equator Lines Around Forms to Lock In Perspective
A circle on paper looks like a flat coin until you wrap a curved centerline around its belly. In your second pass, draw an equator line and a vertical centerline across your spheres and cylinders to show whether the form is tilting up toward the sky or bowing down toward the floor.
Those two cross-contour lines act like a built-in GPS grid for facial features and limbs. Once you wrap a vertical and horizontal equator around a head sphere, you know the exact spot to place both eye sockets, the bridge of the nose, and the attach points for the ears at any three-quarter angle.
Pass Three Commits to Expressive Line Weight and Clean Contours
Only after your underlying mannequin looks balanced and solid should you press harder to lock in the final outer contour. Now that the proportion puzzle is solved, you can use line thickness to tell the viewer's eye which forms sit in front and where gravity pulls the weight down.
- Use T-Junction Overlaps to Push Forms Back in Space: Whenever a closer shape crosses in front of a farther shape like a forearm crossing a torso let the front line stay continuous and stop the rear line cleanly behind it to create an instant T-intersection.
- Weight the Underside of Every Volume: Keep top edges that face the sky thin and delicate, then press firmly as your pencil wraps under the chin, belly, or base of an object where shadow gathers.
- Accent the Deep Creases Where Two Forms Touch: Add a tiny wedge of dark line thickness right in the tight corners where a paw meets the floor or a sleeve folds into an elbow joint.
When you finish a Pass Three drawing in clean black ink and lift away your faint construction lines, your sketch doubles as custom line art that pairs naturally with our printable coloring pages for testing marker or pencil palettes.
"A drawing becomes three-dimensional the moment you stop thinking of your pencil as a boundary fence and start moving it like a wire wrapping around a solid sculpture."
How to Map Light and Shadow Using the Two Value Squint Rule
Beginners often ruin a crisp, well-proportioned line drawing the moment they try to shade it. Without a clear light plan, most people smudge random gray patches under the eyes, around the nostrils, and along every edge until the subject looks like it rolled in fireplace soot.
Classical 19th-century draftsman Charles Bargue taught studio students to avoid muddy shading by enforcing the Two-Value Squint Rule. Before shading a single millimeter, squint your eyes at your subject until all tiny surface details blur out and the entire object splits into just two stark families: the Light Family and the Shadow Family.
Every curved form hit by a single lamp or window follows anentical five-part light map. Once you memorize where those five zones sit on a simple sphere, you can shade an apple, a portrait cheek, or a crumpled jacket from memory.
- Draw the Terminator Line First: Sketch a gentle curved boundary down the form where direct light stops and shadow begins; everything on the shadow side must stay darker than the darkest spot on the lit side.
- Lay Down a Unified Shadow Wash at 45 Degrees: Fill the entire shadow side including the cast shadow on the table with one flat, even layer of parallel 45-degree pencil strokes so your drawing reads as 3D from across the room.
- Reinforce the Core Shadow Ribbon: Add a second, darker pass right along the terminator hump where light grazes away from the surface, while leaving a faint strip of lighter reflected bounce light along the very bottom rim.
- Keep Halftones and Highlights Whisper-Light: Leave the brightest spot on the lit side bare white paper for your highlight, and add only a delicate bridge of halftone strokes just before the light rolls into the terminator line.
A Thirty Day Practice Ladder That Builds Real Muscle Memory Without Burnout
Ninety percent of self-taught beginners quit within two weeks because they attempt a full human portrait or a complex city street on Day 1. Trying to juggle perspective vanishing points, fifty facial muscles, and fabric folds before your hand can ghost a clean cylinder guarantees frustration.
Sequencing your first month by geometric complexity lets you stack one win on top of another. Fifteen focused minutes a day climbing a structured four-week ladder builds spatial intuition three times faster than a single exhausting three-hour marathon on Sunday afternoon.
- Week 1 Kitchen Cylinders and Stacked Boxes (10 minutes/day): Sketch coffee mugs, soup cans, hardcover books, and tissue boxes from three different eye levels to master ellipses and parallel box edges.
- Week 2 Organic Botanicals and Folded Ribbons (15 minutes/day): Draw overlapping monstera leaves, tulip cups, sliced bell peppers, and twisted fabric ribbons to practice C-curves, S-curves, and T-junction overlaps.
- Week 3 Three-Sphere Wildlife and Domestic Pets (15 minutes/day): Construct sitting foxes, owls, sea turtles, and hounds by linking head, ribcage, and hip spheres using our step-by-step animal drawing tutorials and studying silhouette flow across our animals coloring pages.
- Week 4 Expressive Heads and Character Poses (20 minutes/day): Apply the divided Loomis sphere and Pixar flour-sack gesture drill alongside our easy drawing guides for kids and beginners to capture clear emotions and tilted head angles.
Frequently Asked Questions About Learning How to Draw
Can an adult with zero artistic background actually learn how to draw?
Yes, because observational drawing relies on spatial measurement and arm mechanics rather than an innate genetic gift. Adults often progress even faster than children during their first month because they can consciously apply structured shortcuts like clock-face angle sighting, negative-space triangles, and three-pass mannequin construction.
Why do my sketches look accurate when I copy a drawing but terrible when I draw a real object?
Copying another person's flat drawing works because the original artist already did the hard work of translating a 3D object into 2D lines. When you look at a real object or photo, you must perform that translation yourself by squinting to flatten the depth, sighting angles with a locked elbow, and blocking in 3D spheres and boxes first.
How do I draw both eyes or both sides of a vase so they match symmetrically?
Never finish the left eye or the left wall of a vase completely before starting the right side, because drawing one side in isolation guarantees a lopsided tilt. Instead, sweep a horizontal alignment axis across the whole form first and bounce back and forth placing the left inner corner, then the right inner corner, then both upper arches simultaneously.
What is the fastest way to fix stiff, lifeless character and animal poses?
Stiff drawings happen when you stack the head, chest, and hips along a rigid vertical pole like a snowman. Always start Pass One with a single sweeping C-curve or S-curve line of action, and tilt the ribcage and pelvis blocks at slightly opposing angles so the figure carries real weight and rhythm.
Pick One Object on Your Desk and Run This Ten Minute Sketch Test
You don't need an easel, a quiet weekend afternoon, or a thirty-piece supply kit to see your line quality jump today. Grab any pen or pencil within arm's reach, pull out a blank sheet of paper, and run these two quick spatial drills right now.
- Run the 3-Minute Clock-Face Negative Space Check (3 minutes): Place a coffee mug or a pair of scissors on your desk, hold your pencil at arm's length with one eye closed to read the outer slopes as clock hands, and sketch only the empty air pockets trapped inside the handles.
- Construct One Subject With the Three-Pass Mannequin (7 minutes): Choose a beginner prompt from our easy things to draw collection, ghost in the core spheres and cylinders whisper-light from your shoulder first, wrap two cross-contour centerlines around the forms second, and darken only the bottom shadow edges last.
When you sit down to sketch from life or a reference photo, what single part of the process usually trips you up first keeping your initial proportions from drifting, getting smooth curves without chicken-scratching, or figuring out where the shadows belong?